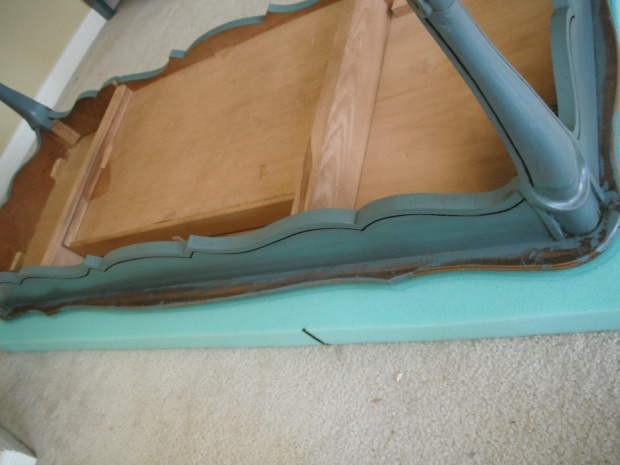
Progress is slow on some projects around the house, and it seems easy to get it to about 90% completed…is that last 10% that always delays the final result. So with my painted bench I finally got around to my first upholstery project. Upholstery might be a strong work, since this was really just stapling fabric to wood. But I like to dream big! So my first task was to trace the table and cut my 3″ foam to fit the curves.
I did skip the step of using spray adhesive, so I suppose down the road I will let you know if it starts to slide out-of-place. The I wrapped it with pre-cut batting…which was cheaper to buy a ‘crib’ size package, then the by-the-yard type. Depending on the size you need, you may or may not be able to find other size options. When stapling the batting to the underside of the table top, I started in the middle of the longest sides, stretched tight and stapled. Then I did the same on the two short sides. I placed my staples about one inch in from the corner where the skirt meets the underside of the table, so that when I attached the fabric, I could get as close to the edge as possible. I probably stapled the batting about every 2-3 inches, and some closer together around the points on the curves.
At the corners, I stapled each side, leaving about a 2 inch gap in the middle, then folded the middle in and tucked the corners. You could also fold a diagonal corner, facing into the middle, but with my curves, this was the easier way.
Then I cut my fabric to size, and followed the same steps in stapling as I did with the batting.
Then I used my fabric scissors to cut the excess fabric, as close to the edge as I could, but still leaving enough for the staples to hang-on. The last 10% needed to complete the project, is finding a coordinating piece of trim, to cover the rough edge and the staples. And I am considering adding a few buttons for tufting. Which might also help with the shifting, since I forgot adhesive. I’m pretty proud at my first attempt, and it is a great addition to the master bedroom.
Supplies: Staple Gun, 3″ by-the-yard foam, batting, fabric and painted coffee table.
P.S. Can you see the sneak peek of a matching dresser in the background there…stay tuned.


Looks beautiful!! I can’t wait to see the finished bed room!!